I have been impressed with Ryobi's 40V battery packs lately. They are fairly energy dense and compatible with a wicked 1800W inverter/power station that I have. Internally they are a 10S lithium pack with some number of cells in parallel depending on the pack capacity. They use the safer flame proof cells and have a sophisticated BMS built-in so I feel pretty comfortable messing with them. They can also be obtained at steep discounts if you are willing to tolerate used packs from eBay. In my experience, they test out fine.
I came to the realization that it would be handy to be able to charge these batteries in the car. I drive electric vehicles and in the event of a power failure, these packs could easily be charged up numerous times. Ryobi doesn't make a 12V-compatible charger for this line of batteries so I took matters into my own hands.
 |
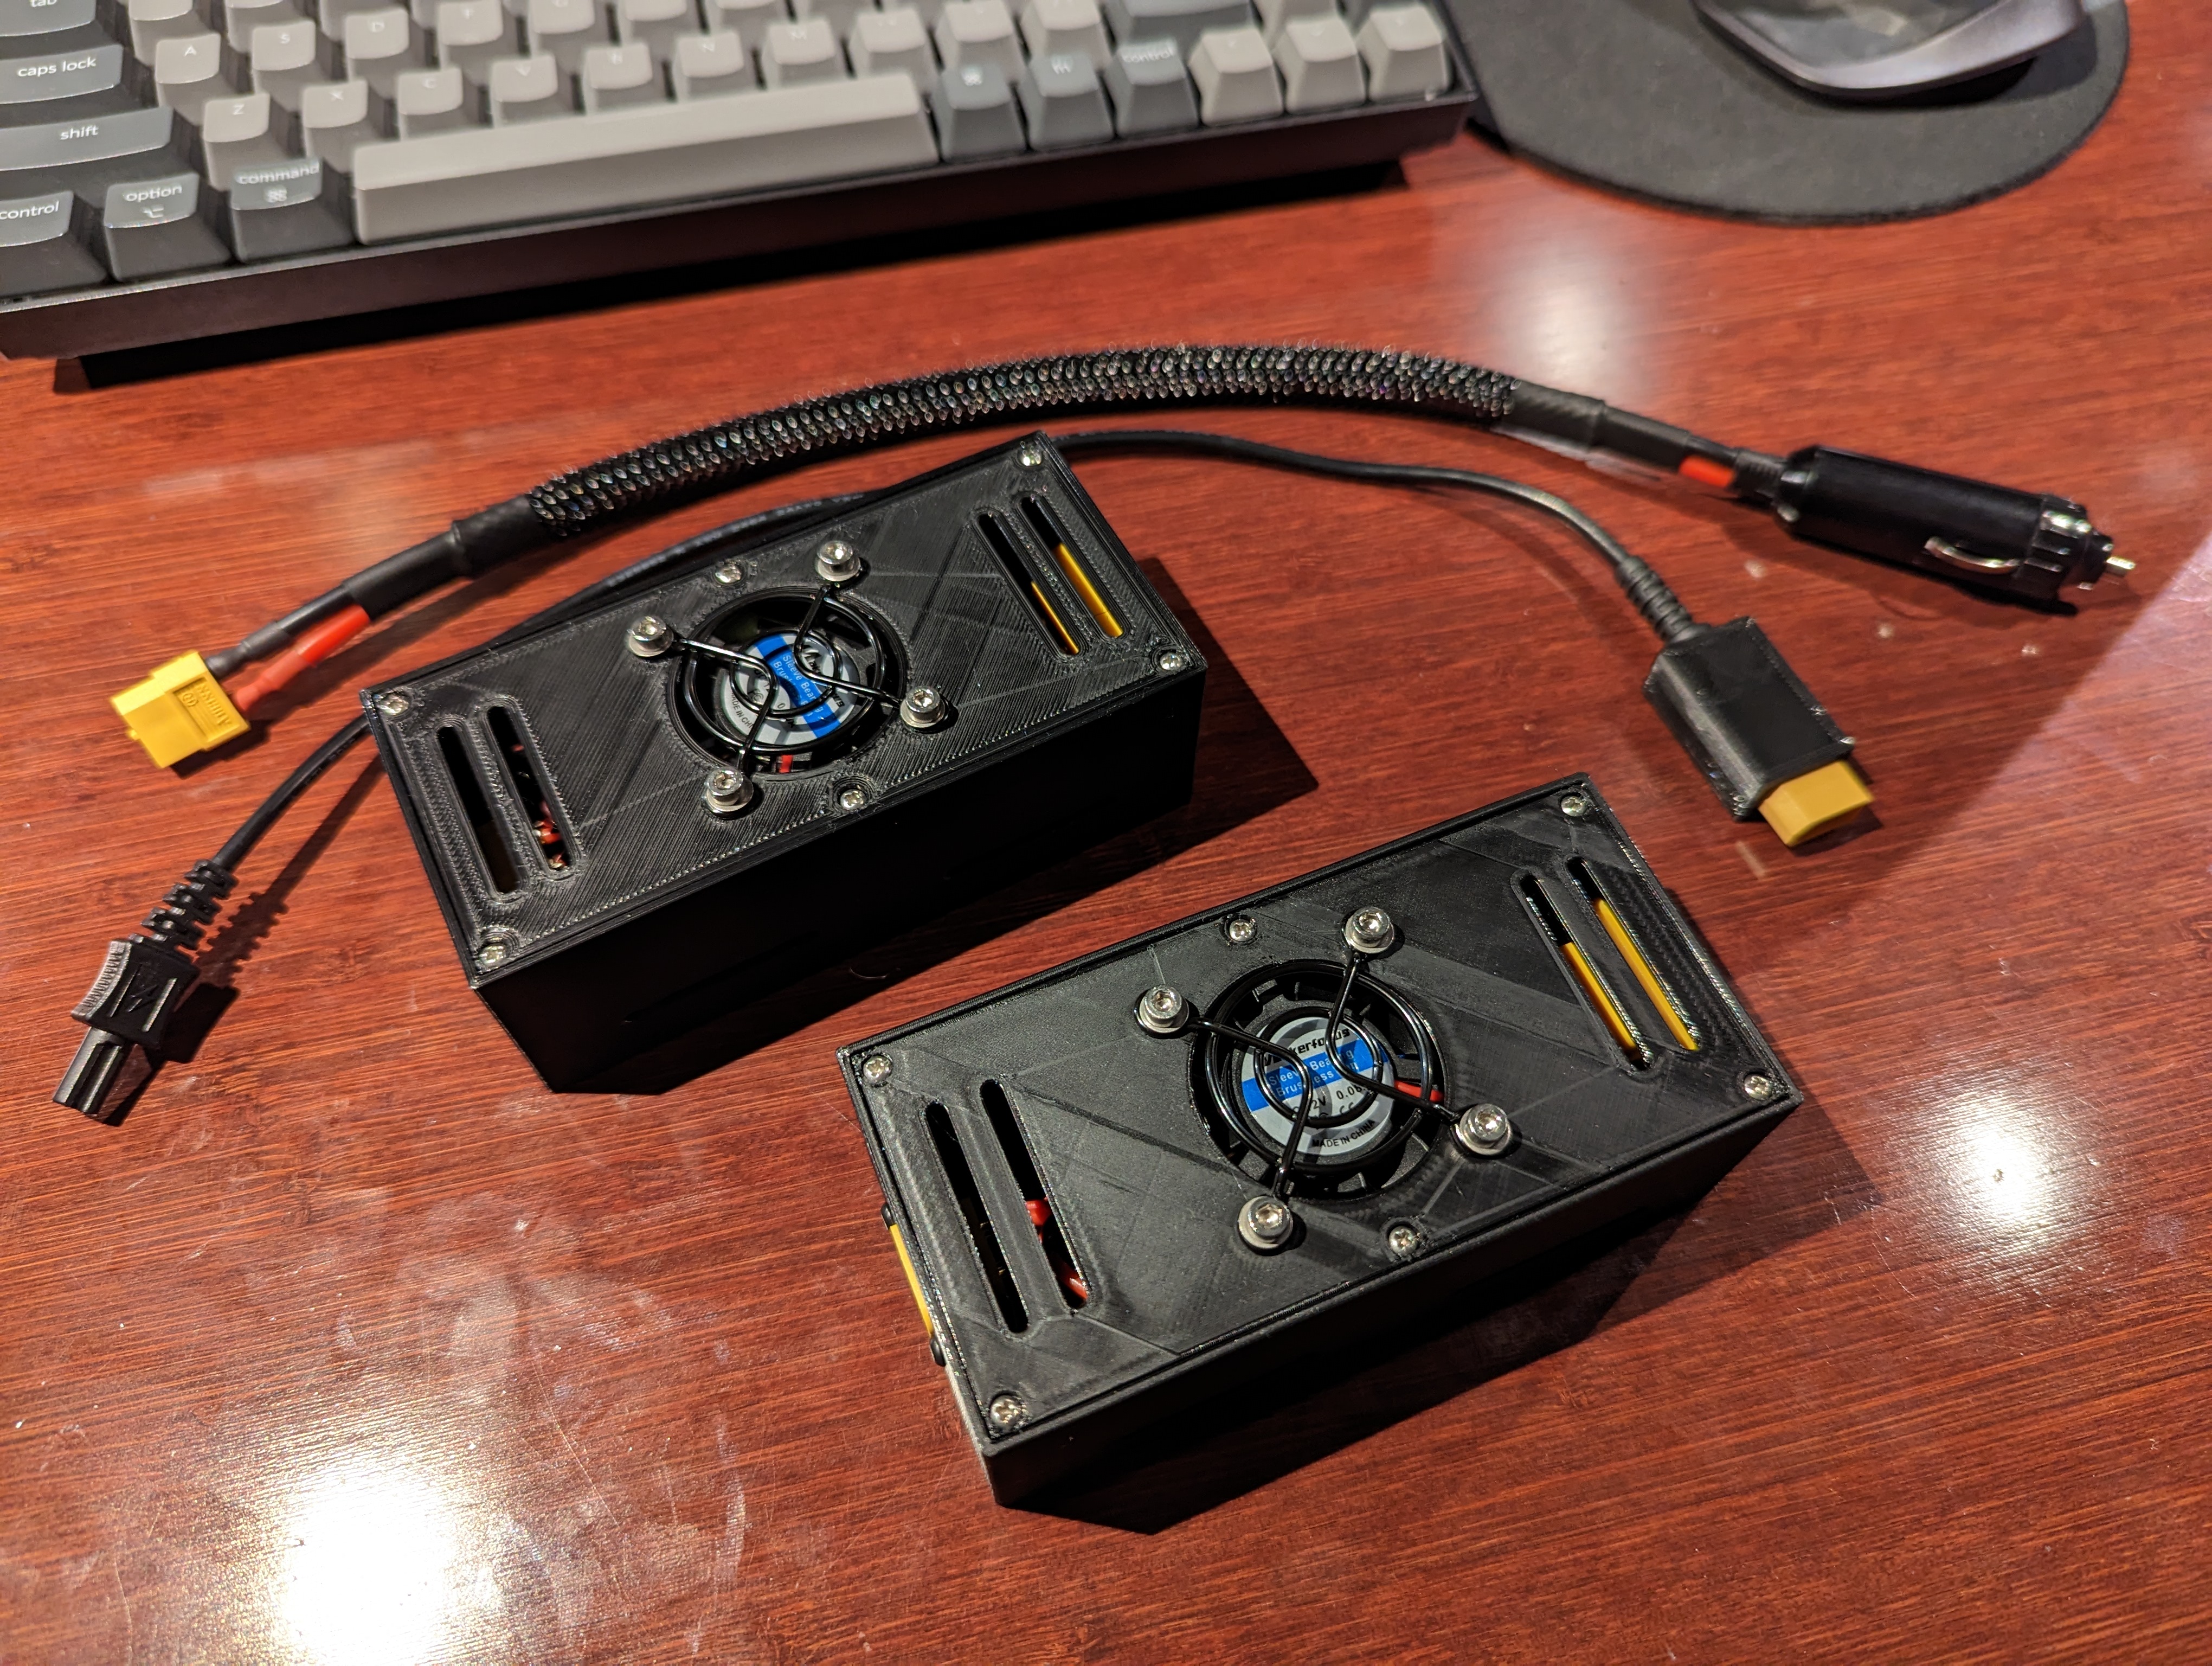
| 12V Compatible Ryobi 40V Battery Charger |
This charger uses an adjustable constant-current/constant-voltage (CC-CV) power supply that steps the 13.8-14.4V that my car provides up to the 42V needed to charge the batteries. I tore apart the OEM chargers that Ryobi provides and found that the weakest link is a blocking diode rated for 3A. The OEM charge adapter ordinarily operates at 1.5A from a wall-powered CC-CV supply. I configured my DC-DC converters to operate at a peak voltage of 42V with 2.75A of current, just shy of the limit of the blocking diode. So far, all has been working well. There is a slight increase in temperature of the case plastics of the charger, but nothing outside of my own personal comfort zone.
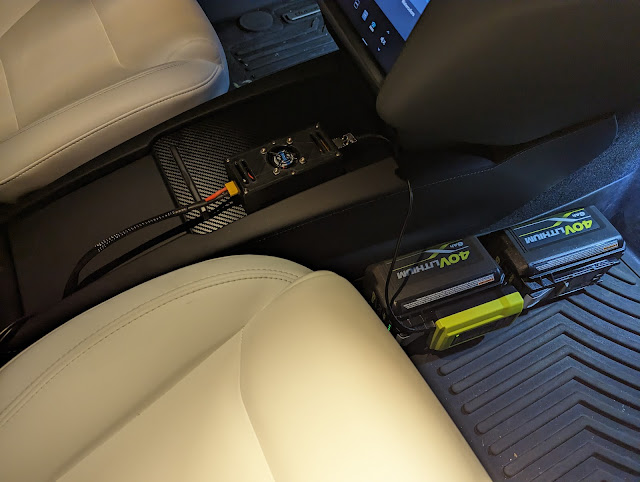 |
| Ryobi 40V Batteries Charging in the Car :] |
The result is that I can now easily charge my batteries in the car. I decided not to use a 12VDC to 120VAC inverter to avoid any efficiency penalty and have measured this design to be around 90% efficient. In this configuration, the batteries are charging at 100W+ which is pretty impressive. In order to mitigate thermal losses, a small 12V fan is employed to move heat away from the converter.
 |
| Ryobi 40V Car Charger Assembly |
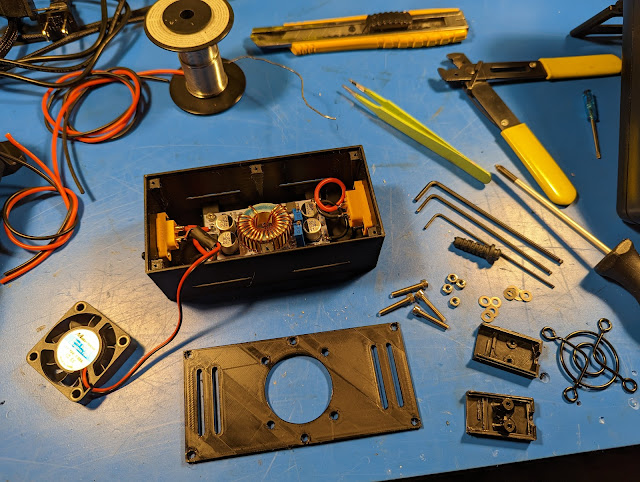
The assembly consists of a few 3D printed components. I designed a case to accommodate the DC-DC converter, some panel mount XT-60 connectors and the cooling fan. I also designed a backshell for the XT60 connectors to make them easier to manipulate. They turned out great.
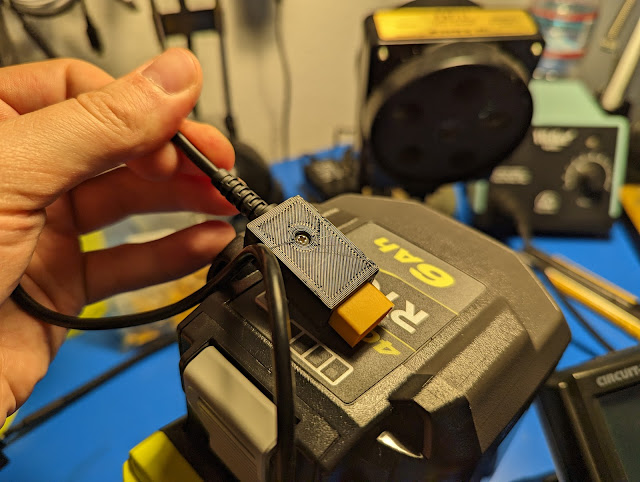 |
| XT60 Backshell Custom Design |
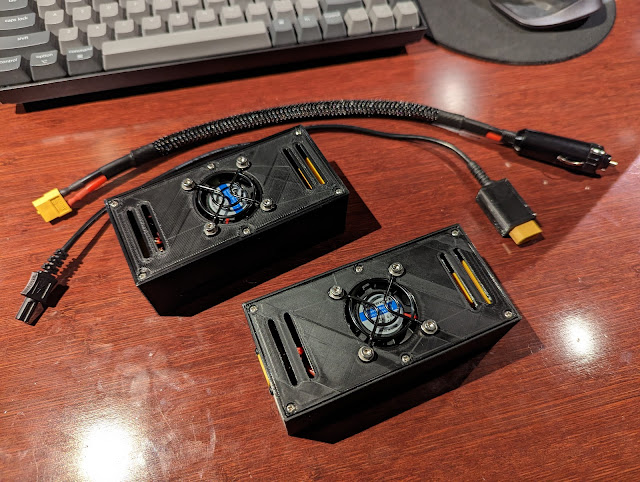
I used a cheap rubber strain relief to make the cables more robust. The end result is a convenient device that should come in handy for power outages, camping trips or any other time that it makes sense to keep batteries topped off in the field.
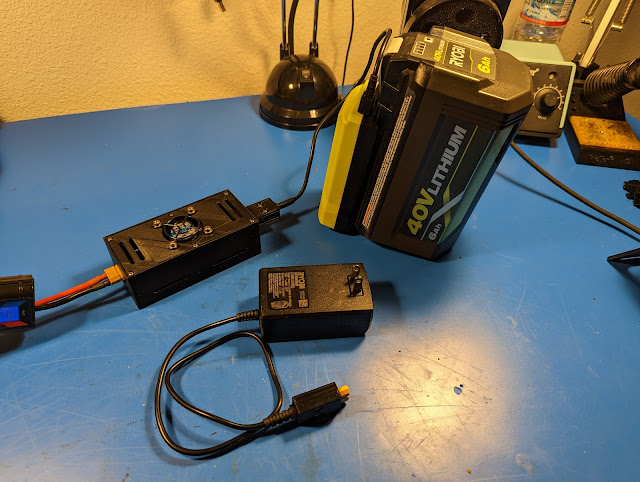 |
| Finished Assembly |
I sacrificed the wall power supply for the connector to use for the charger. All is not lost though. I fitted the opposite gender XT60 connector and an identical backshell so that the charger can still be used in the factory original configuration or for charging from a car.
I hope you enjoyed this short blog post and small project of mine!